Introduction
Google's Gemini API gives developers access to Gemini's multimodal AI models for building chatbots, content generation tools, and AI-powered features directly into their own apps. Getting started is designed to be quick through Google AI Studio, Google's developer platform for Gemini, and in many cases developers can generate a working key and make their first request in just a few minutes. However, Google has recently tightened security requirements around API keys, and understanding these changes is important for anyone setting up a new key today. This post walks through the setup process step by step, along with the key security changes every developer should know about.
The Problem
Developers setting up a Gemini API key for the first time often run into a few points of confusion:
- Recent security changes catching people off guard: Google has been rolling out stricter key restriction requirements throughout 2026, and guides written even a few months ago may not reflect the current rules around unrestricted keys.
- Unrestricted keys getting blocked: Starting June 19, 2026, the Gemini API rejects requests from unrestricted keys that lack explicit restrictions, meaning older keys created without restrictions may suddenly stop working.
- Confusion between free and paid access: Google's free tier availability and limits have changed multiple times in 2026, and free tier access isn't available in all countries, leading to confusing errors for some developers.
- Dormant key blocking: Since May 7, 2026, unrestricted keys that have been inactive for an extended period get blocked automatically, which can catch developers off guard when returning to an old project.
- Not knowing where billing fits in: Some Gemini features and higher-tier models require billing to be enabled, and developers aren't always sure when this becomes necessary versus when the free tier is sufficient.
- First API call errors: Common errors like 403 (permission denied), 429 (rate limit exceeded), or 400 (failed precondition due to region or billing) can be confusing to diagnose without knowing what each specific error code means.
Without accounting for these recent changes, developers risk setting up a key that works initially but stops functioning once Google's new restriction rules take full effect.
The Solution
Here's a clear, step-by-step process for getting your Gemini API key, accounting for the current security requirements:
- Go to Google AI Studio: Visit aistudio.google.com and sign in with your Google account. This is Google's dedicated platform for building with Gemini models.
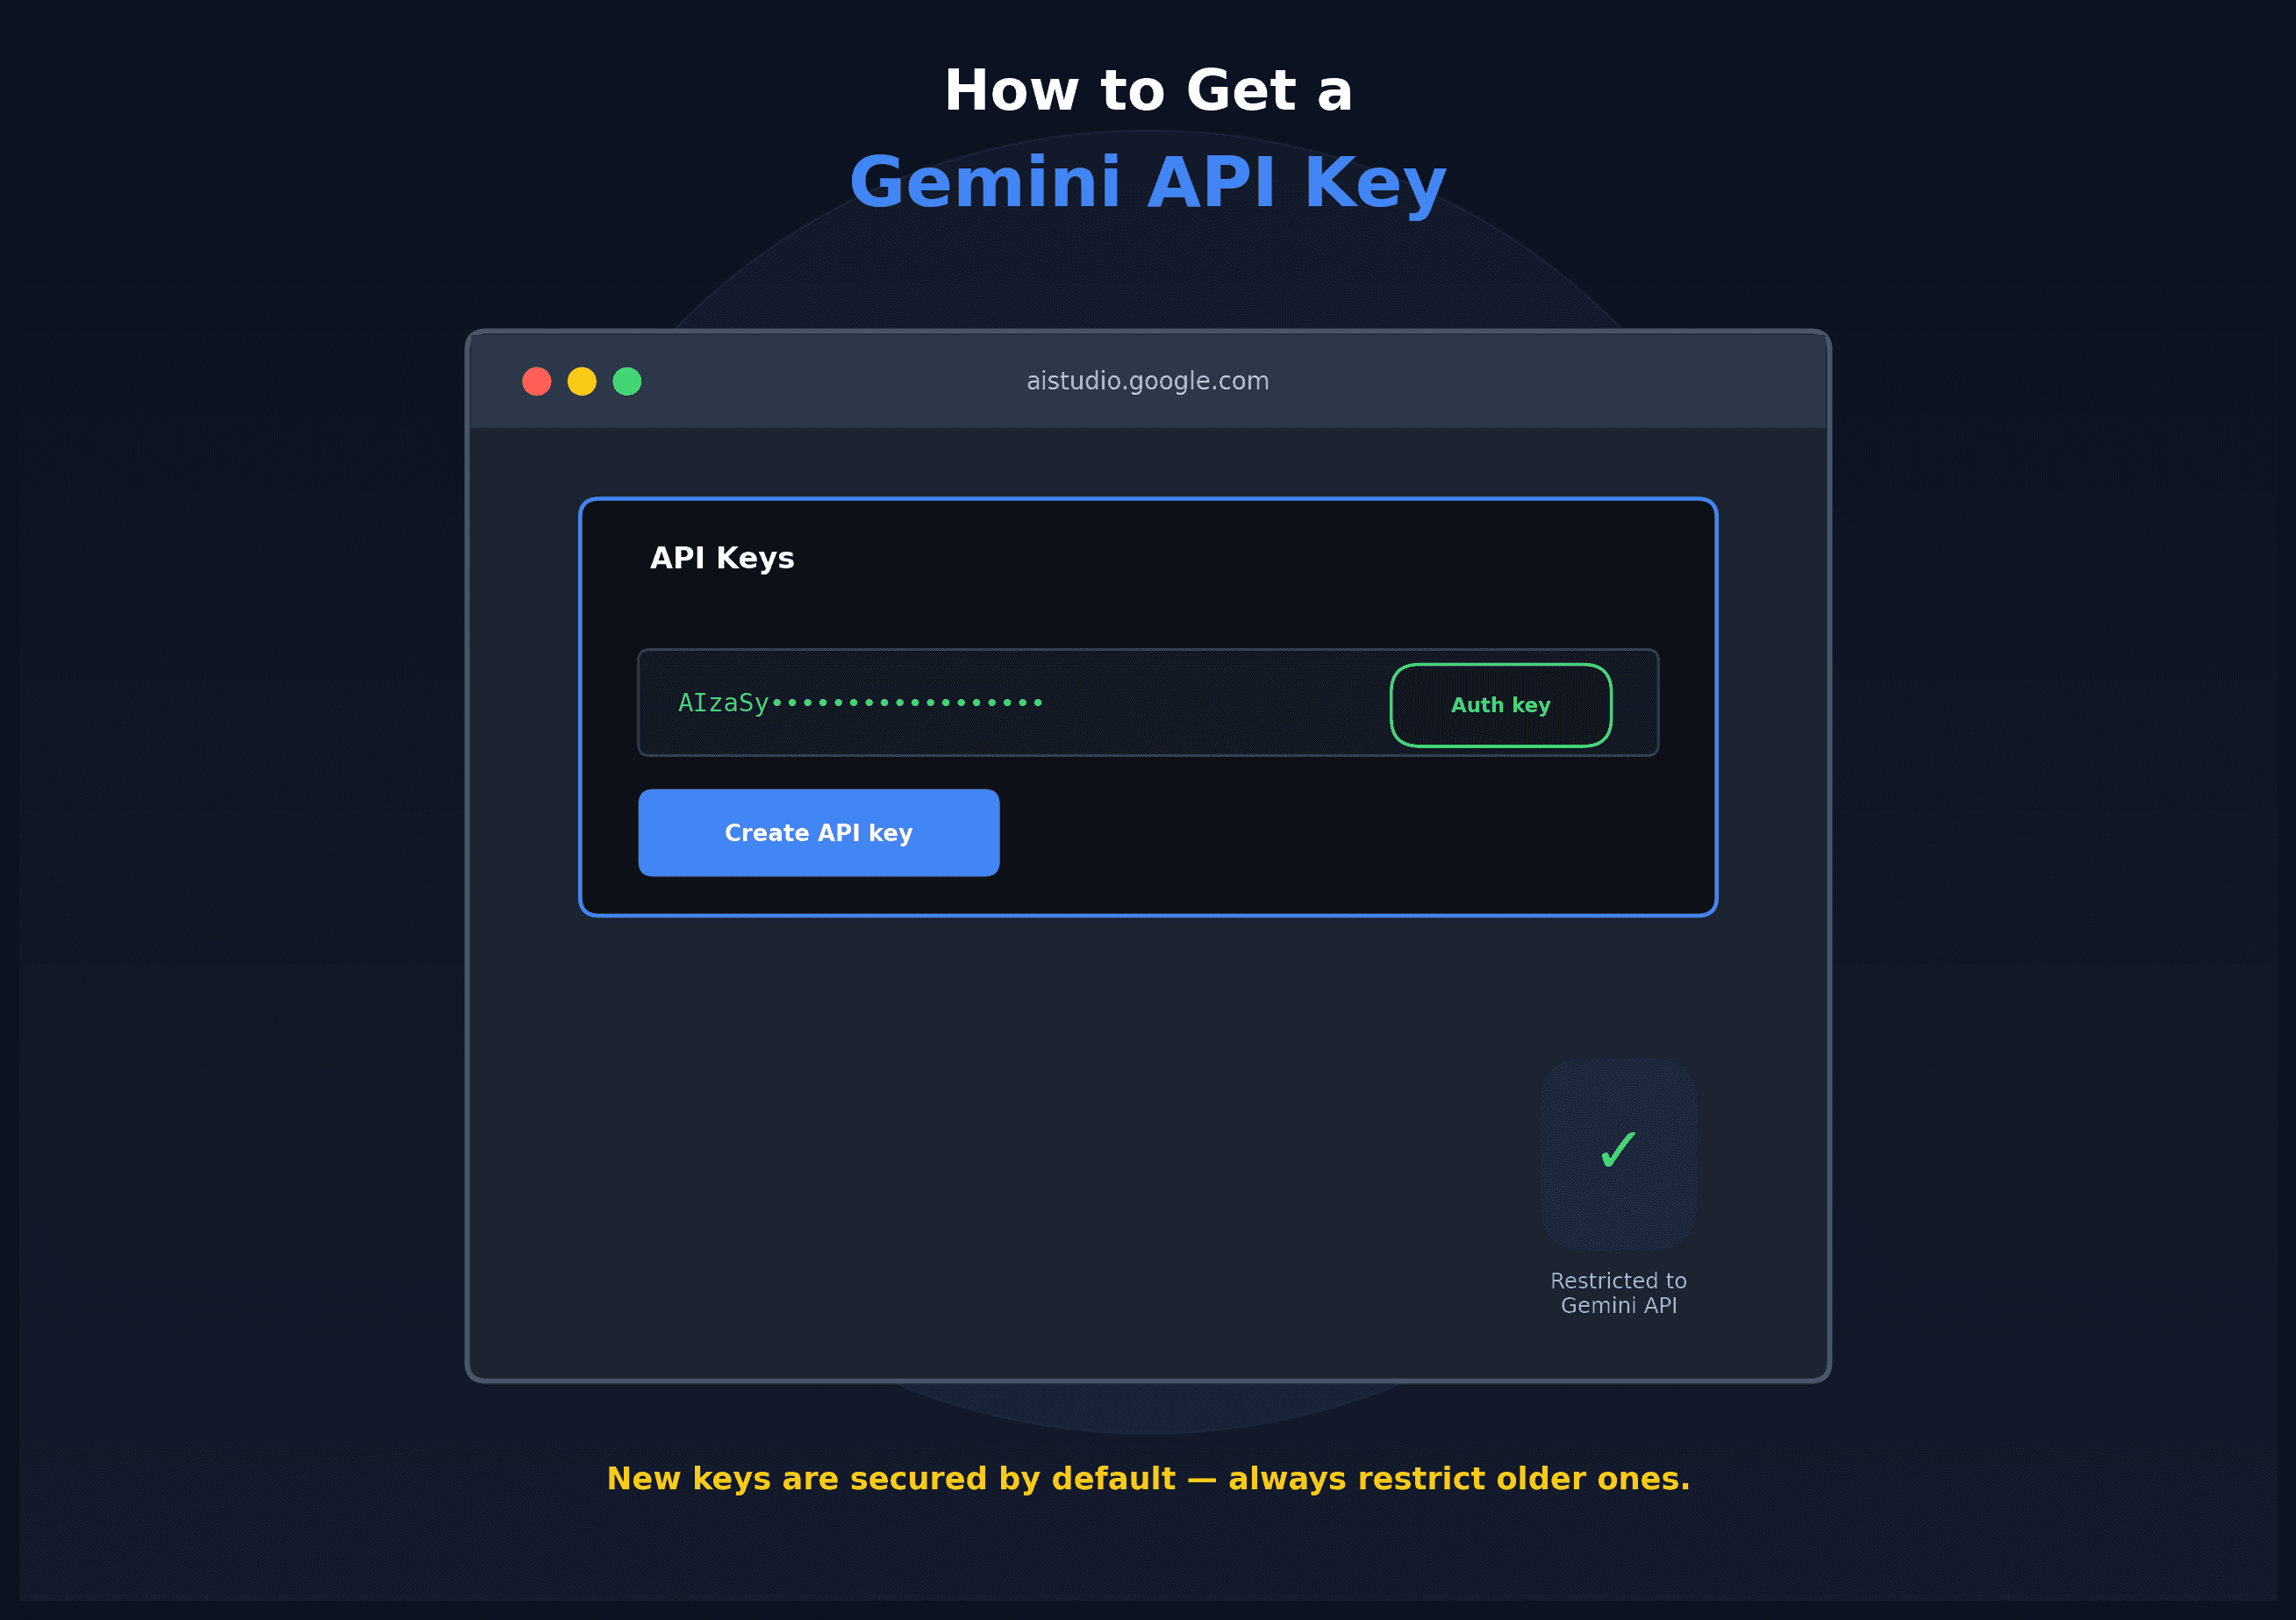
- Navigate to the API Keys page: Click "Get API key" in the left sidebar or on the main dashboard to access the API Keys management page.
- Create a new API key: Click "Create API key," then choose whether to associate it with a new or existing Google Cloud project. Every Gemini API key is tied to a Google Cloud project, though a billing account isn't required just to generate a free-tier key.
- Confirm it's created as an auth key: As of 2026, all new keys created in AI Studio are automatically created as "auth keys" (the newer, more secure key type), so new keys should already meet current security requirements by default.
- Copy and store your key immediately: Your key will start with the prefix AIzaSy. Copy it right away and store it securely, such as in a password manager or as an environment variable, rather than pasting it directly into your code.
- Check for unrestricted key warnings: If you're using an older, previously created key, go to the API Keys page and look for an "Unrestricted" label. If you see one, click "Add restrictions," then select "Restrict to Gemini API only" to secure it before the enforcement deadline.
- Restrict by IP or referrer for extra security (optional): For finer control, such as limiting a key to specific IP addresses or website referrers, use the Google Cloud Console's Credentials page rather than AI Studio's simplified interface.
- Store the key as an environment variable: Most official SDKs automatically detect a GEMINI_API_KEY environment variable, so there's rarely a good reason to hardcode the raw key string directly into your application code.
- Call the API from your backend, not the browser: Since anything in client-side JavaScript can be inspected by anyone using browser developer tools, always make Gemini API calls from a backend server rather than directly from frontend code.
- Make your first API call: Using the official Google GenAI SDK for Python or JavaScript, or a simple curl request with your key in the required header, send a test prompt to confirm everything is working correctly.
- Set up billing if needed: If you plan to use higher-capability models beyond the free tier, or if the free tier isn't available in your region, you'll need to enable billing on your associated Google Cloud project.
- Set budget alerts: If you enable billing, set up budget alerts in Google Cloud to avoid unexpected charges from a bug, runaway script, or unexpectedly high usage.
- Rotate keys periodically: For any key used in production, rotating it roughly every 90 days is a reasonable security practice, especially given how frequently Google has been updating its key security requirements throughout 2026.
Following these steps, with particular attention to key restrictions, ensures your Gemini API key stays functional and secure under Google's current requirements.
Conclusion
Getting a Gemini API key through Google AI Studio is a quick process, but 2026 has brought meaningful security changes that make key restrictions far more important than in the past. By creating your key through AI Studio (where new keys are automatically more secure by default), checking older keys for the "Unrestricted" label, and following good practices like using environment variables and calling the API only from your backend, you can set up a Gemini integration that continues working smoothly as Google's security requirements continue to evolve. Since these policies have changed multiple times in 2026 alone, it's worth checking Google's official Gemini API documentation directly for the very latest requirements before deploying to production.